
Creating Groups
- Login to iLearn and select the course you would like to work in
- Go to Course Tools - select Groups
- You can also access Groups through Course Management – Course Admin
- Select New Category

- Enter a Category Name. Groups are setup by categories. For example: Project Groups or Project 1 Groups
- Enter a Description of the group, if needed
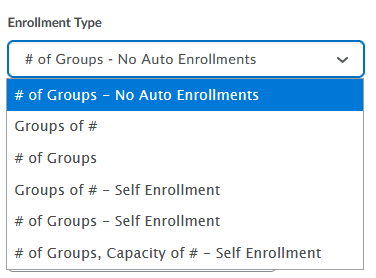
- Select the Enrollment Type
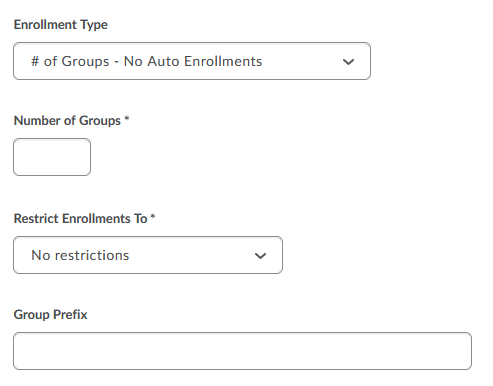
- # of Groups – No Auto Enrollments – this option allows you to setup the number of groups needed, but will not auto-enroll any users.
- Groups of # - this option will allow you to choose the number of users in each group and auto enroll the users.
- # of Groups - this option will allow you to choose the number of groups and auto enroll the users.
- Groups of # - Self Enrollment – this option allows you to choose the number of users in a group and then students will enroll themselves in a group.
- # of Groups – Self Enrollment - this option allows you to choose the number of groups and then students will enroll themselves in a group.
- # of Groups, Capacity of # - Self Enrollment - this option allows you to choose the number of groups and their capacity and then
students will enroll themselves in a group.
- Enter either the Number of Users or Number of Groups
- Restrict Enrollments To – this option is helpful if you have larger groups setup and need to only have those groups choosing to enroll (or be assigned) to a sub-group.
- Group Prefix – allows you to add a prefix to the auto assigned info, optional. By default it will
be Group 1, Group 2, etc.
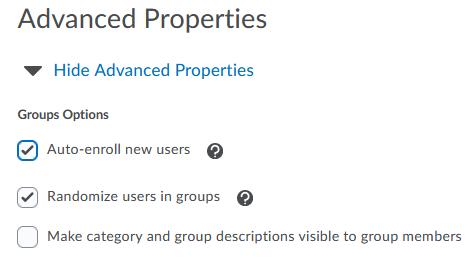
- Advanced Properties
- Auto-enroll new users – important if you set these up prior to the drop/add deadline
- Randomize users in groups – otherwise it will be in the alphabetical order
- Make category and group descriptions visible to group members – optional
- Additional Options
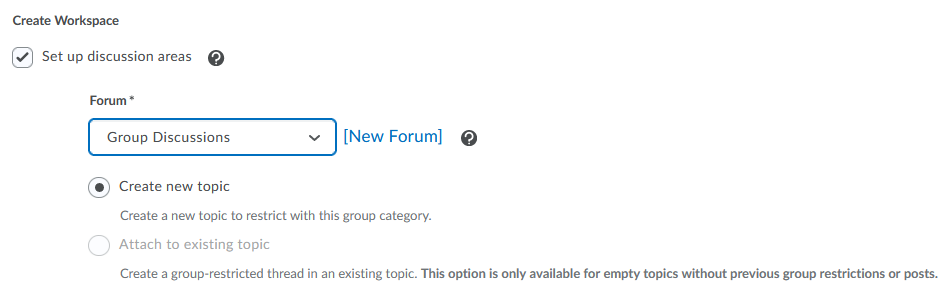
- Set up discussions areas
- Choose a Forum (or create a New Forum)
- Choose to either Create new topic for the group or Attach to existing topic. If you choose Attach to existing topic, select the topic from the list.
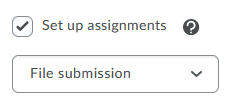
- Setup assignments
- Select the assignment type
- File submission – if the students will be submitting a file
- Text submission – great for quick comments, journaling, or video link submissions
- On paper submission – submissions that will be handed in physically
- Observed in person – for example, a presentation online or in a physical classroom.
- Click Save
- Select the assignment type
- Set up discussions areas
Setting up Discussions and Assignments Through the Group Creation Tool
While setting up the group, if you choose to setup a discussion area or an assignment, you will have to select a few more options. You can always setup Group discussions and assignments later through the actual tools also.
If You Chose to Add Discussions
- Select how you would like to create the topics
- Create one topic per group – this will create the number of topics in the Discussions that corresponds with how many groups you are adding. These will be named after the group name. You will want to edit the descriptions in Discussions once they are created.
- Create one topic with threads separated by group – this creates one topic in Discussions, but group members can only see the threads
for their group.
- Add a Title for the Topic
- Provide a Description with additional information.
- Click Create and Next (or Add Another if needed)

When to use one topic per group vs one topic for all
- Topic per group – you have different instructions for each group for their discussion, great for journaling where each student has an individual group, or it’s easier for the instructor in terms of organization.
- One topic for all – all group instructions are the same, if it is easier for the instructor to have all the comments in one thread and filter them vs viewing multiple topics.
If You Chose to Add an Assignment
These options will just have you fill in all the important settings for creating an Assignment. If you would like to enable Turnitin, you will need to go to the Assignments area after you complete this process and set that up.
- Enter a Name
- Enter the assignment Instructions
- Add any attachments needed
- Make sure that Group assignment is selected and the choose the appropriate Group Category from the drop-down box.
- Edit the Submission type and update settings if needed
- Under Evaluation and Feedback,
- Enter the Score Out Of
- Associate the assignment with a Grade Item (if applicable)
- Add a rubric if needed
- Click Create
To complete the process of setting up the groups, discussions, and assignments:
- Once done, you will see the Workspace Summary
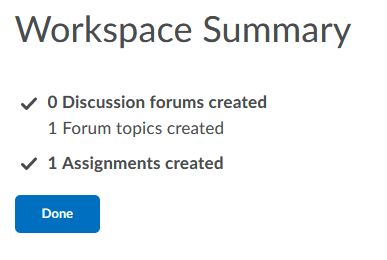
- Click Done
- Click Save
You should see the group category and groups listed. The assignment and discussions will be listed under the Assignment and Discussion areas.
Need to Enroll Your Students in Groups now?
If you chose to create groups with No Enrollment, make sure to go to the Manage Groups page and see how to Enroll the Users.