Export and Import Courses in iLearn
There are times when you would like to share your course content with another instructor. You can do this by exporting your course and providing a ZIP file for the other instructor that they can then import into their own course.
Exporting Components
To get the export, go through the Export process in iLearn to get ZIP file. Most items will export, but Groups and Release Conditions do not. If you are the instructor of both courses, copying the course is a better option.
- Go to the course to be Exported.
- Choose the Gear icon at the top right and select Import/Export/Copy Components

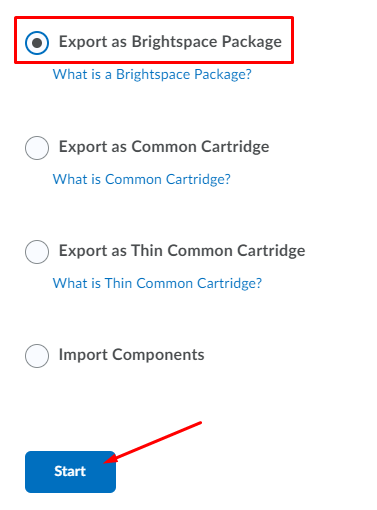
- Select Export as Brightspace Package
- Click Start
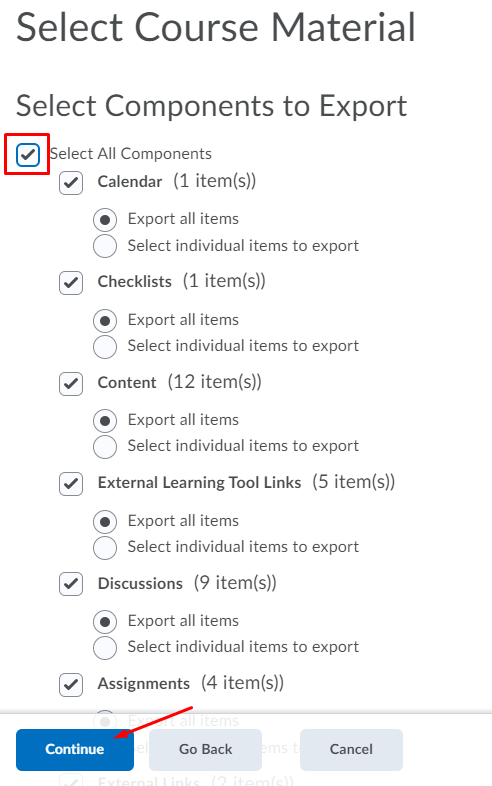
- Select the checkbox at the top to select All Components you want to copy, click Continue. If you want to only copy certain components, only check the items you would like to
export.
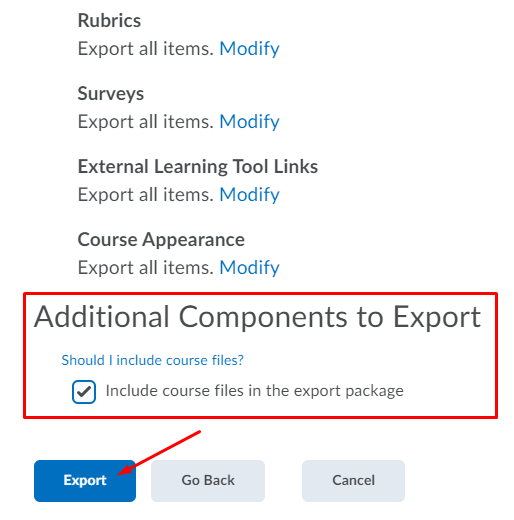
- On the 2nd confirmation page, make sure to select Include course files in the export package under Additional Components to Export.
- Click Export
- You will receive the Export started message.
Downloading the Export File
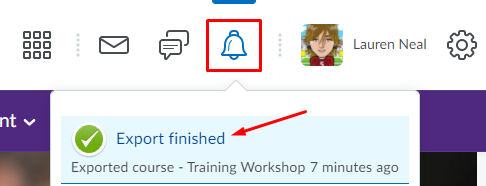
- Once the export is completed, you will receive an update in your iLearn account under
the Update icon (looks like a bell at the top) when the download is ready.

- Select the Updates icon and select the Export finished link.
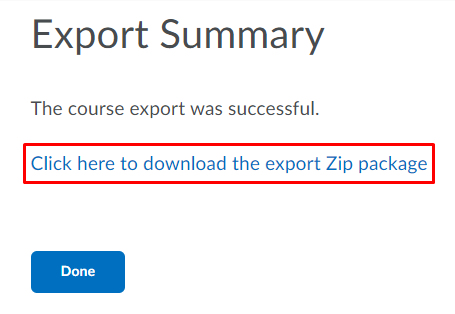
- Select the link that says "Click here to download the export Zip package".
If using a Mac, turn off the option that allows your Mac to unzip automatically so it doesn’t corrupt the file.
- Open Safari
- Click Preferences
- Under the General tab, uncheck the option Open “safe” files after downloading
Sharing the Export File
You can then either email it (if it is small) or share it via OneDrive or a flash drive for the other person to Import.
Importing a Course Export into Another Course
To import a course export into a course, make sure you do not open the ZIP file provided. If using a Mac, please refer to the information about settings on a Mac at the top of the page.
- Go to the course where you would like to import the information.
- There are two ways to access the Import Components tool
- Choose the Gear icon at the top right. Select Import/Export/Copy Components
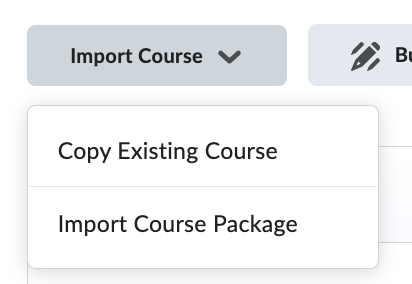
- Go to Content and select the Table of Contents link. Select the Import Course button and choose Import Course Package.
- Choose the Gear icon at the top right. Select Import/Export/Copy Components
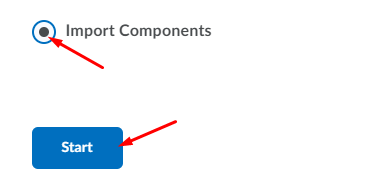
- Select Import, click Start
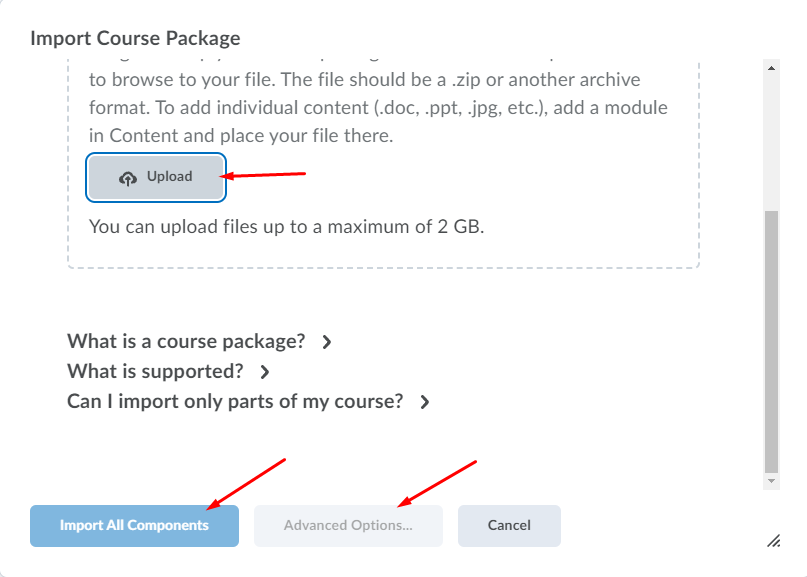
- Upload the file (do not extract the ZIP file prior to importing or it will not work)
- You have two options for importing the content
- Click Import All Components - this will begin importing all components.
- Select Advanced Options - it will go through a similar process as when copying and it will allow you to choose
different components that you would like to import into the course.
TIP: If you choose Advanced Options, make sure to select the Course Files option when copying Content or the links will be broken.